
🚀 Getting Started with Affiliated Writer
Welcome aboard! This guide will help you install, activate, and configure the plugin so you can start publishing in minutes.
1 Download Plugin
After payment, check your email for the License Key and Download Link. Download the affiliated-writer.zip file to your computer.
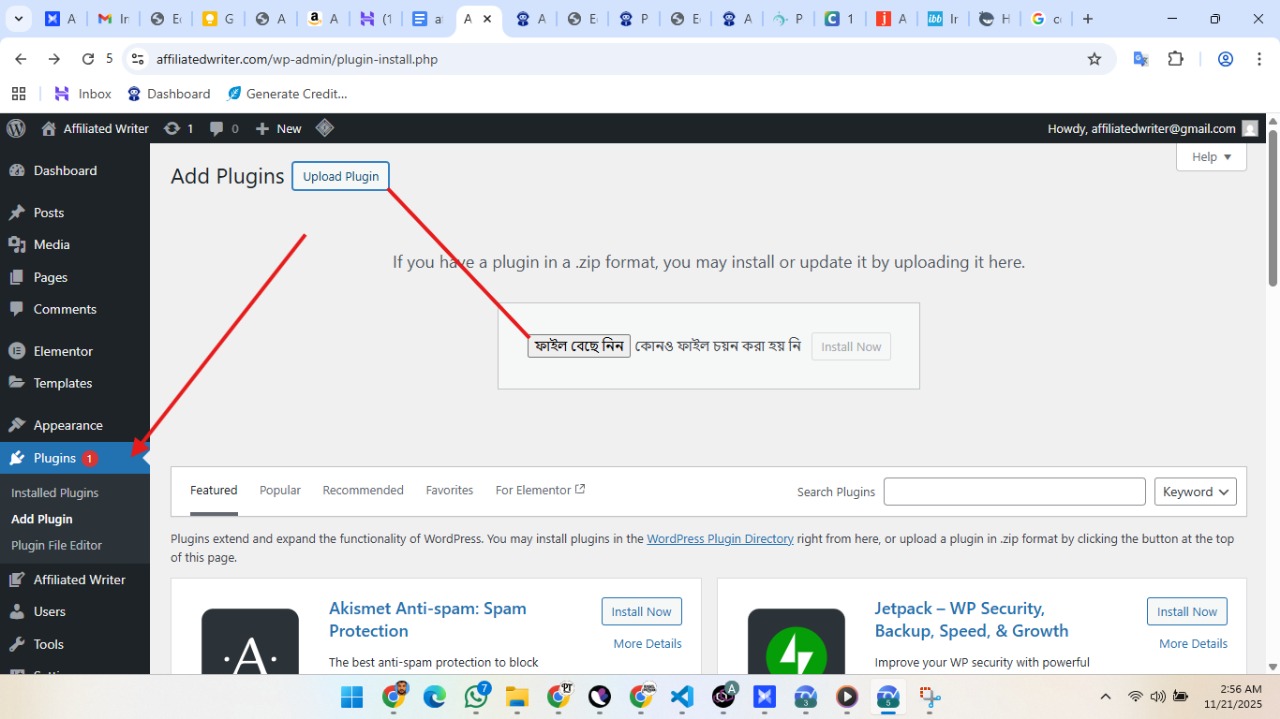
2 Upload to WordPress
Go to your WordPress Dashboard > Plugins > Add New Plugin. Click "Upload Plugin", select the .zip file, and click "Install Now".
3 Activate Plugin
Once installed, click "Activate Plugin". You will see a new menu item "Affiliated Writer" in your dashboard sidebar.
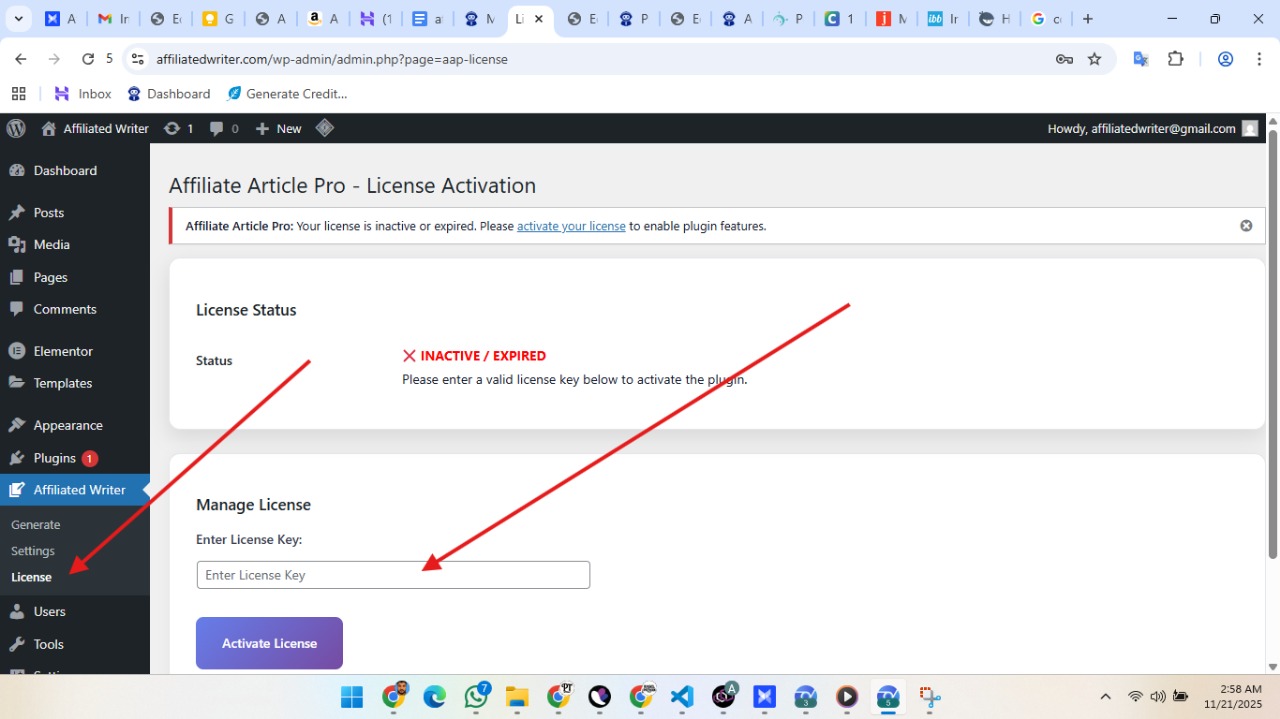
1 Enter License Key
Go to Affiliated Writer > License. Paste the key you received in your email.
2 Activate
Click "Activate License". Once active, you will see a green "Active" status.
Now, let's set up the plugin. Go to Affiliated Writer > Settings.
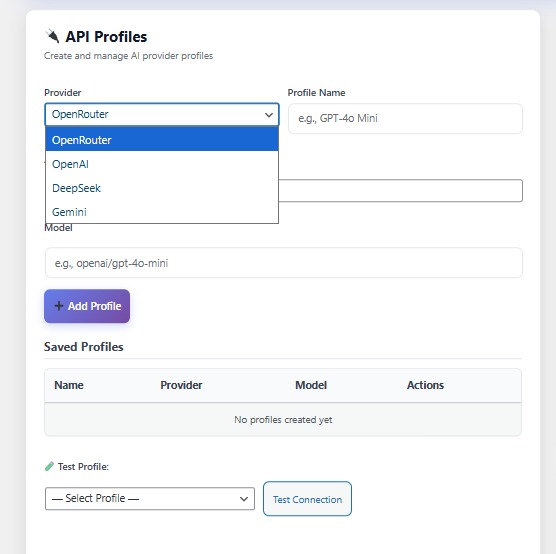
Connect the AI that will write your articles (e.g., DeepSeek, OpenAI).
- Provider: Select your provider.
- API Key: Paste your key here.
- Model: Enter model name (e.g.,
deepseek-chat).
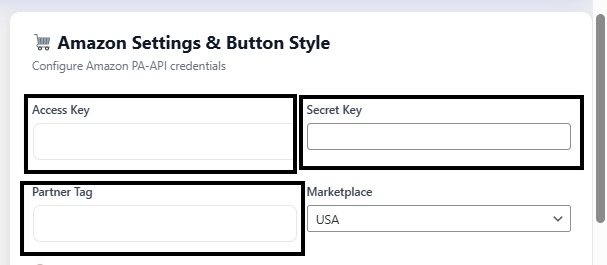
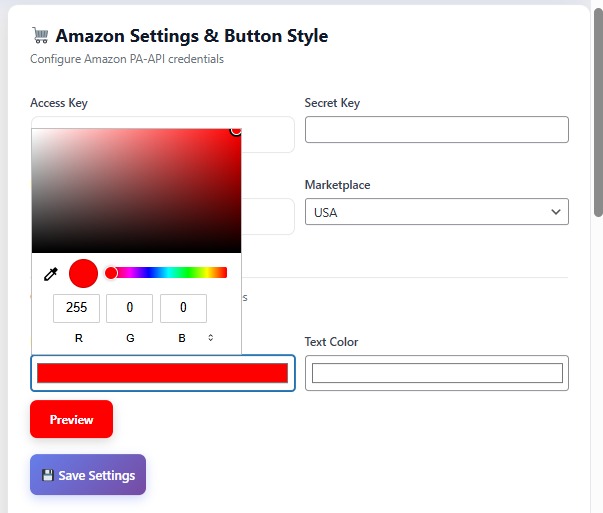
Ensure you get paid when someone buys a product.
Customize the "Check Price" buttons to match your website's design. Use the Live Preview to see changes instantly.
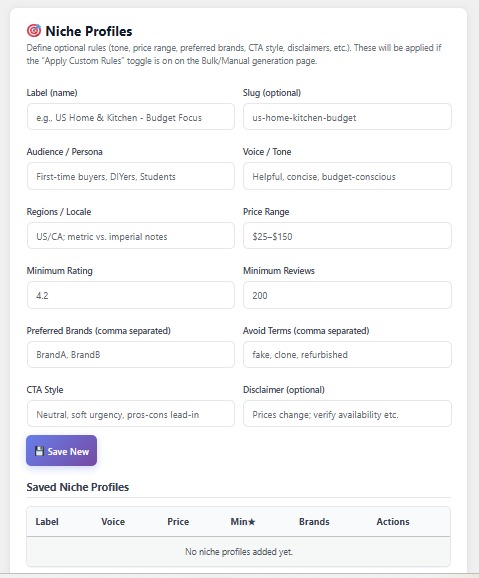
Control the Tone and Audience. Create profiles like "Tech Gadgets" (Witty tone) or "Home Decor" (Friendly tone) to make content sound unique.
✅ You are all set!
Click "Save Settings" at the bottom. You are now ready to create your first article!
How to Generate High-Converting Articles
Whether you are building a new site or managing an authority blog, Affiliated Writer gives you two powerful ways to create content: Bulk Automation and Manual Precision.
Best for: Filling up a new website, covering topical clusters, and saving time.
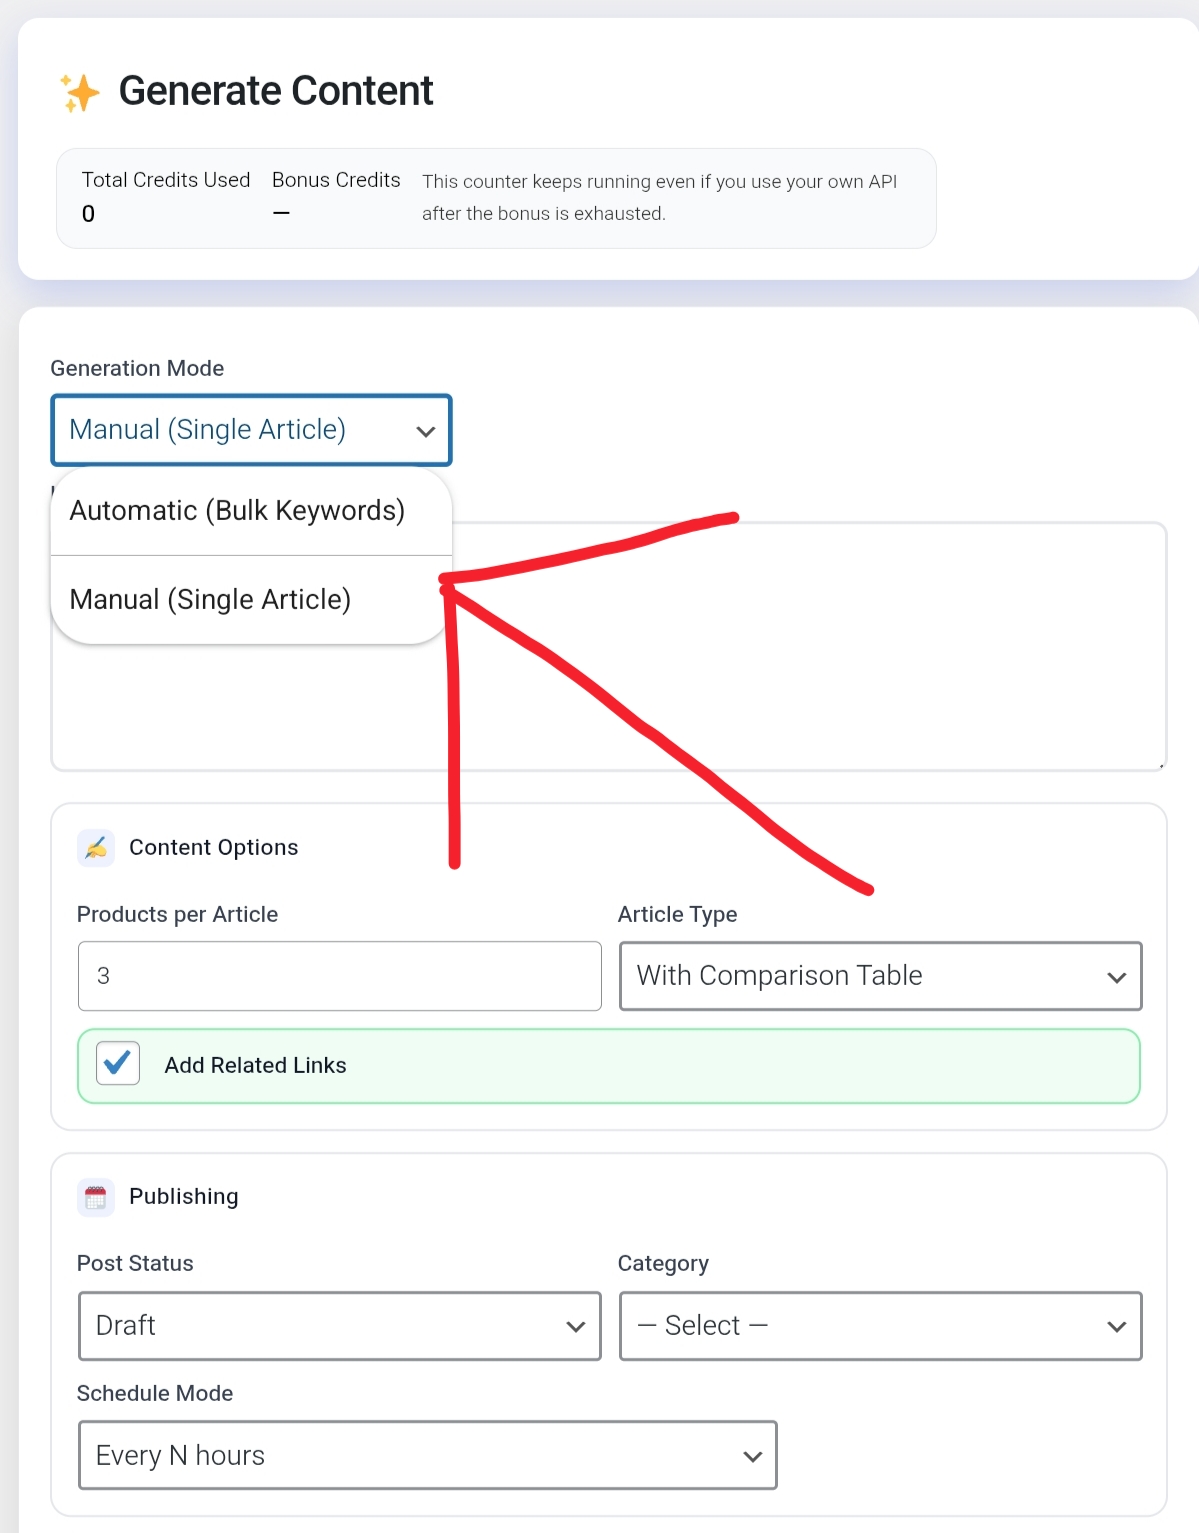
1 Choose Automatic Mode
Navigate to the Generate page. From the "Generation Mode" dropdown, select "Automatic (Bulk Keywords)".
2 Enter Your Keywords
Paste your keywords—one per line. Example:
best budget dash cam
best wireless gaming mouse under $50
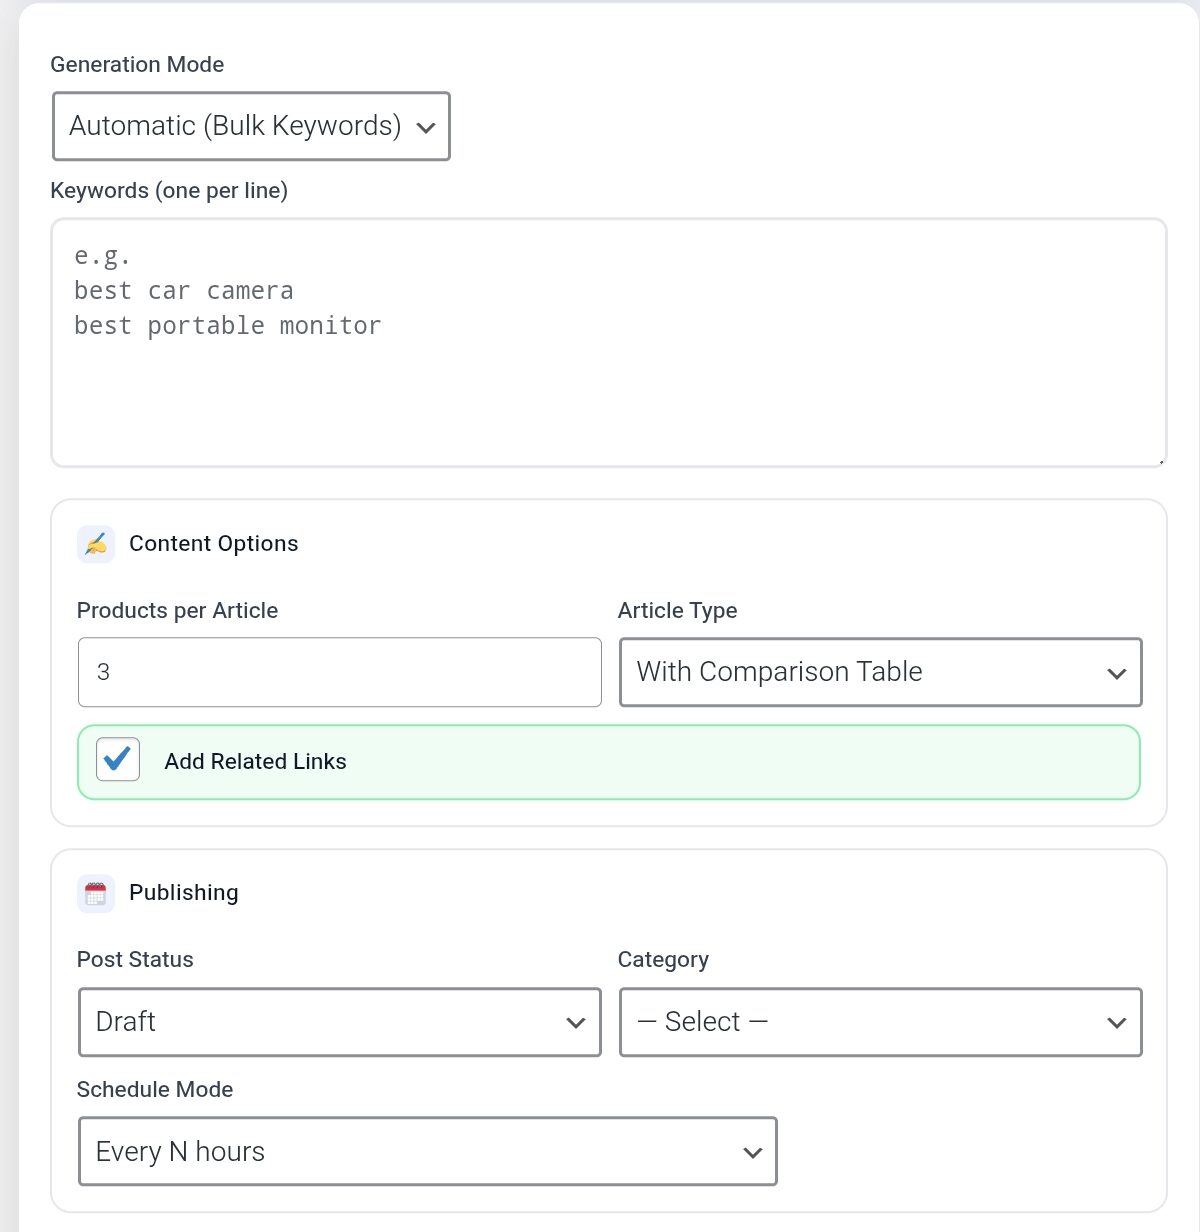
3 Configure & Launch
• Products: 3 to 5 recommended.
• Schedule: Publish immediately or drip-feed.
• AI: Select your API Profile.
Click "Start Bulk Generation" and relax. The plugin will do the rest!
Best for: High-competition keywords, "Money Posts," and specific product reviews.
1 Switch to Manual Mode
Select "Manual (Single Article)" from the dropdown menu.
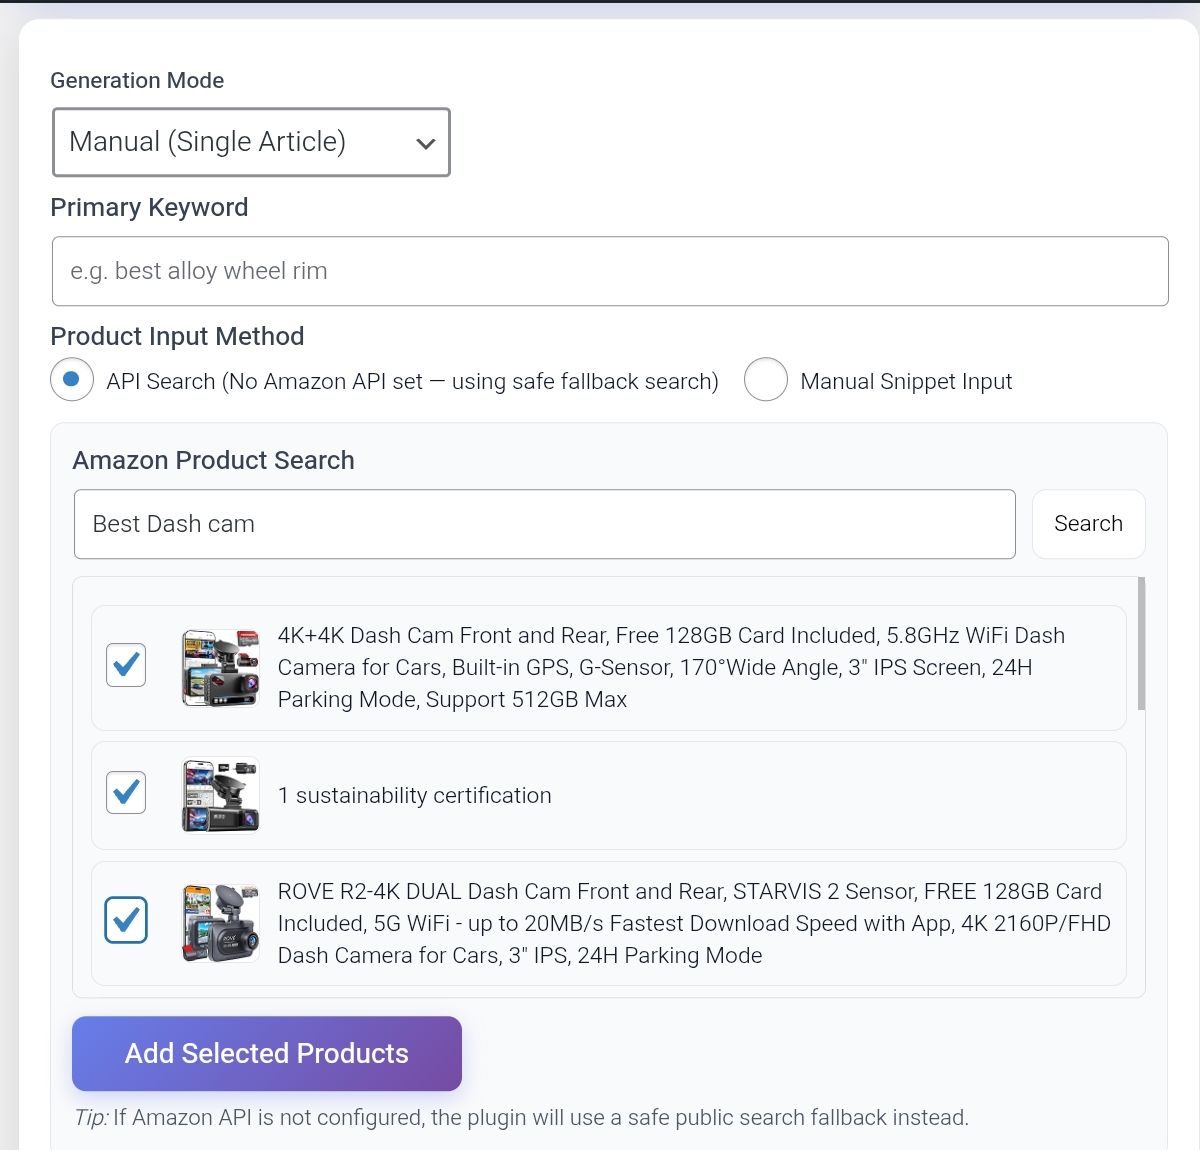
2 Search Products (No API Needed!)
Type a product name (e.g., "Sony WH-1000XM5") and click Search. Check the boxes next to the products you want and click "Add Selected Products".
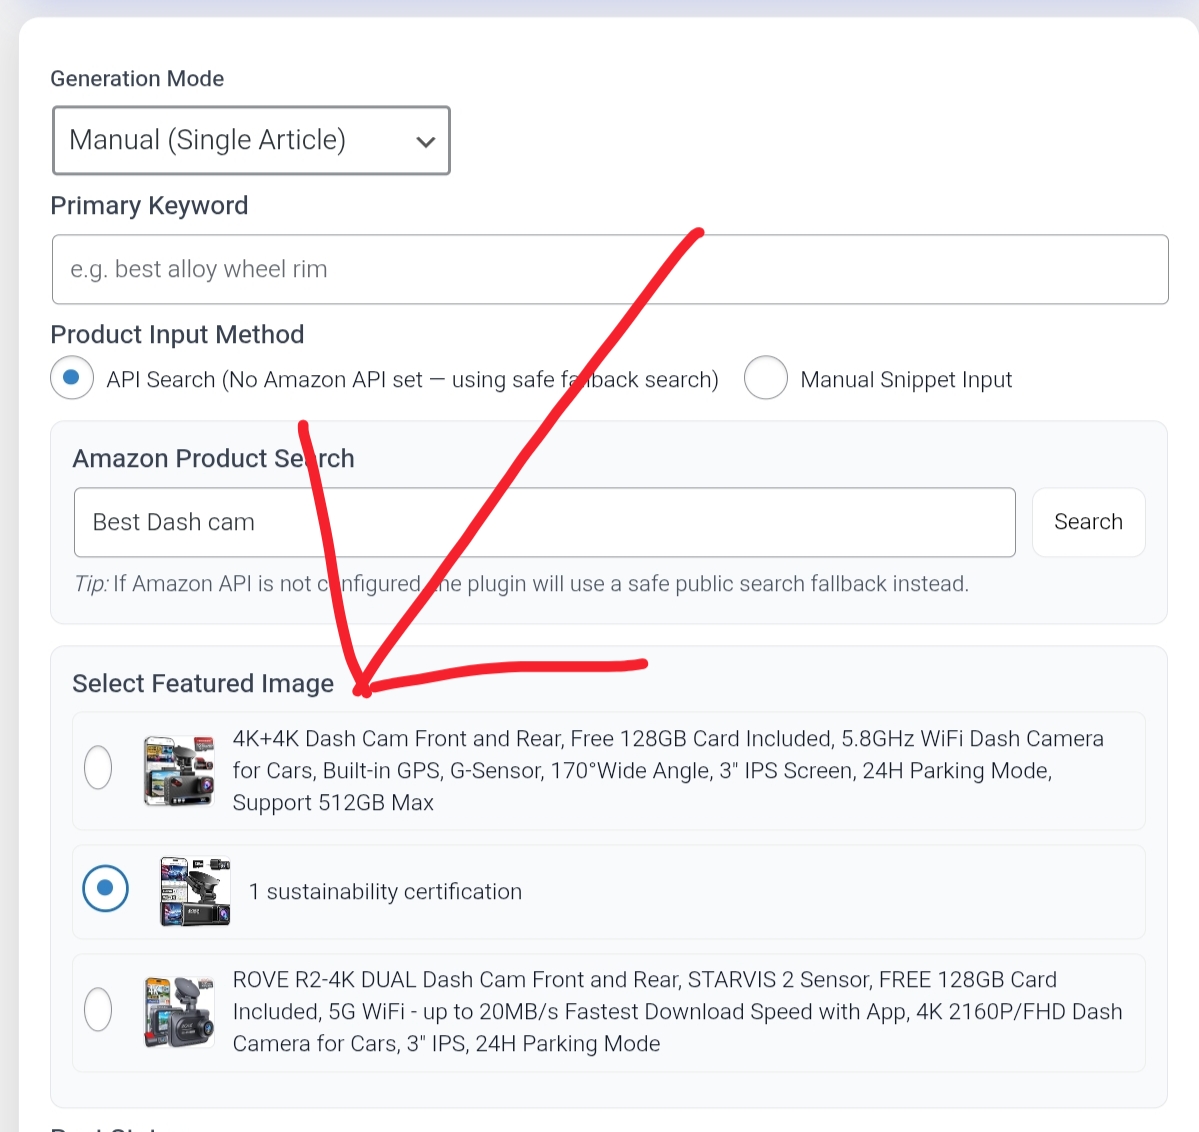
3 Select Featured Image
Scroll down and select the image you want to use as your post thumbnail.
4 Generate
Click "Generate Article". The AI will craft a detailed review based on your selected products.
💡 Pro Tip: Use "Niche Profiles"
Want your content to sound like a professional tech reviewer? Don't settle for generic AI writing.
- Go to the Niche Profile dropdown.
- Select a profile (e.g., "Friendly Tech Expert").
- Check "Apply Custom Rules".
This makes your content unique and undetectable!
Ready to Start Writing?
Stop wasting hours writing manually. Let Affiliated Writer handle the heavy lifting.
Get Affiliated Writer Now